Web content doesn’t stay the same forever. Over time, pages get moved, deleted, or taken offline, which leaves behind broken links and missing references. This problem is known as link rot, and it affects every corner of the internet.
If you run a WordPress site, these dead links can hurt your SEO and make readers lose confidence in your content. The challenge is that checking hundreds or thousands of URLs by hand simply isn’t practical.
The good news is that there’s a free plugin that handles this job automatically. It scans your site for broken links and replaces them with archived versions from the Internet Archive.
In this article, I’ll show you how to set up this tool and protect your WordPress site from link rot, and help build a better web at the same time!

Here’s a quick look at the topics I will cover in this guide:
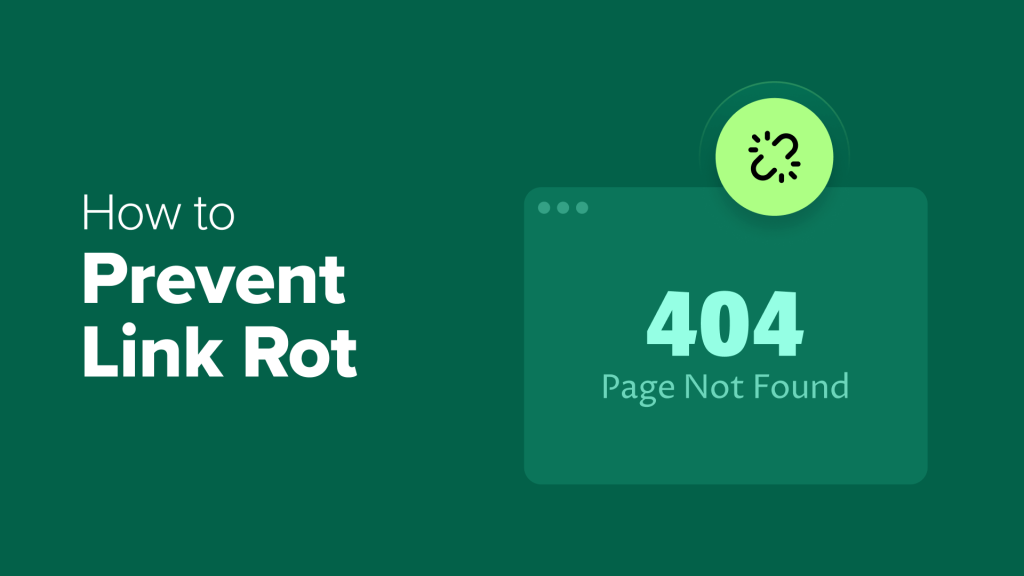
What Is Link Rot and How Do I Prevent It?
“Link rot” happens when a webpage you’ve linked to disappears or moves, leaving a broken link on your website. Over time, this can happen to any website when you reference old blog posts, news articles, or resources that are no longer available.
Preventing link rot is essential for:
SEO and user experience: Broken links can hurt your search rankings and frustrate visitors. Search engines may see multiple broken links as a sign that your site isn’t well-maintained, which can hurt your overall rankings.
Website credibility: Dead links make your content seem outdated or unreliable. This can hurt your reputation and drive visitors away.
Supporting the open web: The internet works best when information is accessible. Every time you archive a web page to prevent link rot, you help preserve a piece of digital history for everyone. Over time, this makes the web a more reliable resource.
One of the best tools for this is the Wayback Machine. It’s run by Internet Archive, which is a free, nonprofit service that snapshots web pages over time so that information is never lost. Its overall goal is to be an internet library so that information is accessible to everyone.
And with the right WordPress plugin, you can automatically replace your dead links with archived versions from the Wayback Machine.
Step 1: Install and Activate the Wayback Machine Link Fixer Plugin
The first step is to install the free Internet Archive Wayback Machine Link Fixer plugin on your WordPress site. This plugin will automatically check your links and replace broken ones with archived versions from the Wayback Machine.
If you’re new to installing plugins, then see our beginner’s guide to installing a WordPress plugin. Once activated, the plugin will be ready for configuration in the next step.
Step 2: Configure the Wayback Machine Link Fixer Plugin
After activating the plugin, it’s time to set it up.
The plugin has two powerful functions: the Link Fixer, which finds and repairs existing broken links, and the Auto Archiver, which proactively saves copies of external links to prevent them from breaking in the future. The setup wizard will help you configure both.
After activating the plugin, you should see a banner at the top of your WordPress dashboard. Click the ‘run the setup wizard’ link to begin. If you don’t see the banner, you can also start the wizard by going to Link Fixer » Settings in your left-hand menu.

The plugin will launch a simple setup wizard that guides you through three easy steps: entering API keys (if needed), configuring which post types to scan, and setting up automatic archiving for new content.
Entering API Keys
If you want to archive more than 4,000 links per day, you’ll need a free Archive.org account and API keys. This limit applies to every external link on your site that the plugin checks or archives.
Most small or medium websites won’t reach this daily limit, and you can safely click the ‘Next Step’ button and move on to the next section.
Only very large sites, like news publishers or sites that automatically publish hundreds of posts with many outbound links, might need the API keys.
Those site owners will need to go to the API Keys page on Archive.org and copy their unique Archive.org API Access Key and Archive.org API Secret Key.
Finally, enter these keys in the plugin settings to unlock higher daily limits for archiving links.

Once you have done this, click the ‘Next Step’ button at the bottom of the page to continue.
Configuring Link Fixer Settings
Next, you’ll configure how the plugin scans your site. This step lets you choose which content the plugin monitors for broken links, and makes sure that both new and existing posts are protected.
Start by enabling the Link Fixer option. This allows the plugin to process links within the post types you select below that setting.

Then, choose which post types you want the plugin to scan for links, such as Posts and Pages. This setting tells the plugin where to look for broken links, whether they point to your own site or to external websites.
I recommend you enable the link fixer for both posts and pages.
Finally, you can enable Scan Existing Content to allow the plugin to review all existing posts of the selected types. Keep in mind that scanning older content may take some time if your site has a lot of posts.

To make sure the plugin automatically fixes your broken links, leave the ‘Action for Broken Links’ setting on the default ‘Replace Link (No Notification)’ setting.
Now you can click the ‘Next Step’ button to continue.
Configuring the Auto Archiver
Next, you’ll set up the Auto Archiver, which automatically archives your content on the Wayback Machine whenever you publish or update posts. This ensures that new content is protected from link rot without you needing to do anything.
Start by enabling the Auto Archiver option, which allows the plugin to automatically archive external pages linked from your chosen post types, such as Posts and Pages.

Finally, you can enable scheduled archiving to have the plugin archive content at regular intervals according to your preferred schedule. This keeps your site consistently backed up in the Wayback Machine and helps maintain link integrity over time.
When you are happy with the settings you have selected, make sure you click the ‘Finish’ button to save them.

Once these settings are configured, the plugin will automatically monitor your links and keep them updated with archived versions, saving you time and protecting your site’s SEO.
Step 3: Monitor and Manage Links
Once the plugin is set up, you can monitor its activity by navigating to the Link Fixer menu in your WordPress admin sidebar. The Dashboard page gives you a quick overview, while the Links page provides a detailed list of every link the plugin is tracking.
On the Dashboard page, you’ll see a list of Recent Link Checks and Latest Links.

There’s also a Links Statistics Overview on the right, showing totals for all links, links saved, successfully archived links, links ineligible for redirect, checks in progress, and total broken links.
This gives you a quick snapshot of your site’s link health at a glance.

The Links page allows you to dive deeper, displaying each link along with columns for URL, archive status, link health, times checked, and the last check date and time.
This makes it easy to identify any problematic links that may need further action.

By regularly reviewing these pages, you can ensure your site’s links remain intact, both for your readers and for SEO. If any issues come up, you can investigate or manually fix links as needed.
Alternative: Use All in One SEO’s Broken Link Checker to Find and Fix Broken Links
The method I just showed you is ideal for automatically preventing broken links on your website while improving internet archives.
But if you’re just looking for an easy way to find and manually fix broken links on your site, then Broken Link Checker by AIOSEO is a great alternative. This free plugin regularly scans your website for broken links, including internal links and external links.
After installing the plugin, you can view all of them by going to Broken Links in your WordPress dashboard.

From here, you can easily fix any broken links by manually entering the new URL or removing the link altogether.
Plus, the plugin runs scans every 3 days, so you won’t have to worry about future broken links.

For more details, see our guide on how to find and fix broken links in WordPress.
Frequently Asked Questions About Preventing Link Rot
Keeping your links healthy can raise a lot of questions, especially if you’re new to WordPress or the concept of link archiving.
Below, I’ve answered some of the most common questions about how to protect your site from link rot and broken links.
1. How does a broken link checker plugin identify broken links?A broken link checker plugin works by regularly scanning every link on a website to see if it leads to a live webpage. If it detects an error, like a ‘404 Not Found’ page, it marks the link as broken.
2. What happens if a broken link doesn’t have an archived version in the Wayback Machine?If a link is broken and no archived version exists, a tool like Wayback Link Fixer cannot create a snapshot of the old page because the original content is already gone. This is why its ‘Auto Archiver’ feature is so important. It proactively saves snapshots of links while they are still live.
3. Can I manually check individual WordPress posts for link rot?Yes. The Wayback Link Fixer plugin works automatically in the background. It also allows you to trigger a manual scan for specific posts or pages directly from the WordPress dashboard. This is useful if you’ve just updated an important old article and want to check it immediately.
4. How do I fix broken links on my website?The Wayback Link Fixer plugin offers an easy method. It automatically replaces broken links with their archived versions from the Wayback Machine. If an archived version isn’t available, or if you prefer to point the link to a new resource, then you can also fix it manually. For a complete guide on other methods, see our tutorial on how to find and fix broken links in WordPress.
5. Are snapshots in the Wayback Machine publicly accessible?Yes. Once a URL is archived in the Wayback Machine, it becomes part of the public archive and is accessible to anyone.
6. Will the Wayback Link Fixer plugin slow down my website?The Wayback Link Fixer plugin is designed to be lightweight. It runs its checks in the background as a scheduled task, which minimizes any impact on your site’s performance and loading speed.
7. Does fixing broken links help website SEO?Yes. Search engines like Google view a large number of broken links as a sign of a poorly maintained website, which can negatively impact your search rankings. Fixing these 404 errors improves the user experience and signals to Google that your site is high-quality and well-maintained, which is great for SEO.
8. How is Wayback Link Fixer different from the Broken Link Checker plugin?The popular Broken Link Checker plugin is excellent at finding broken links, but requires you to fix them manually. Wayback Link Fixer goes a step further by automatically fixing the broken link, replacing it with a working, archived version from the Wayback Machine. Its main focus is on preserving the original reference, not just flagging an error.
Additional Resources for Managing Links in WordPress
Managing your internal and external links effectively is key to keeping your site healthy, improving SEO, and ensuring a smooth experience for your visitors.
If you want to learn more about working with links in WordPress, then these beginner-friendly resources can help:
If you liked this article, then please subscribe to our YouTube Channel for WordPress video tutorials. You can also find us on Twitter and Facebook.